


How do I stick the MOOXIBIKE bicycle film?
• easy bubble-free bonding
• quick, residue-free removal
• up to frame thickness 13 cm circumference
• Film length can be freely divided
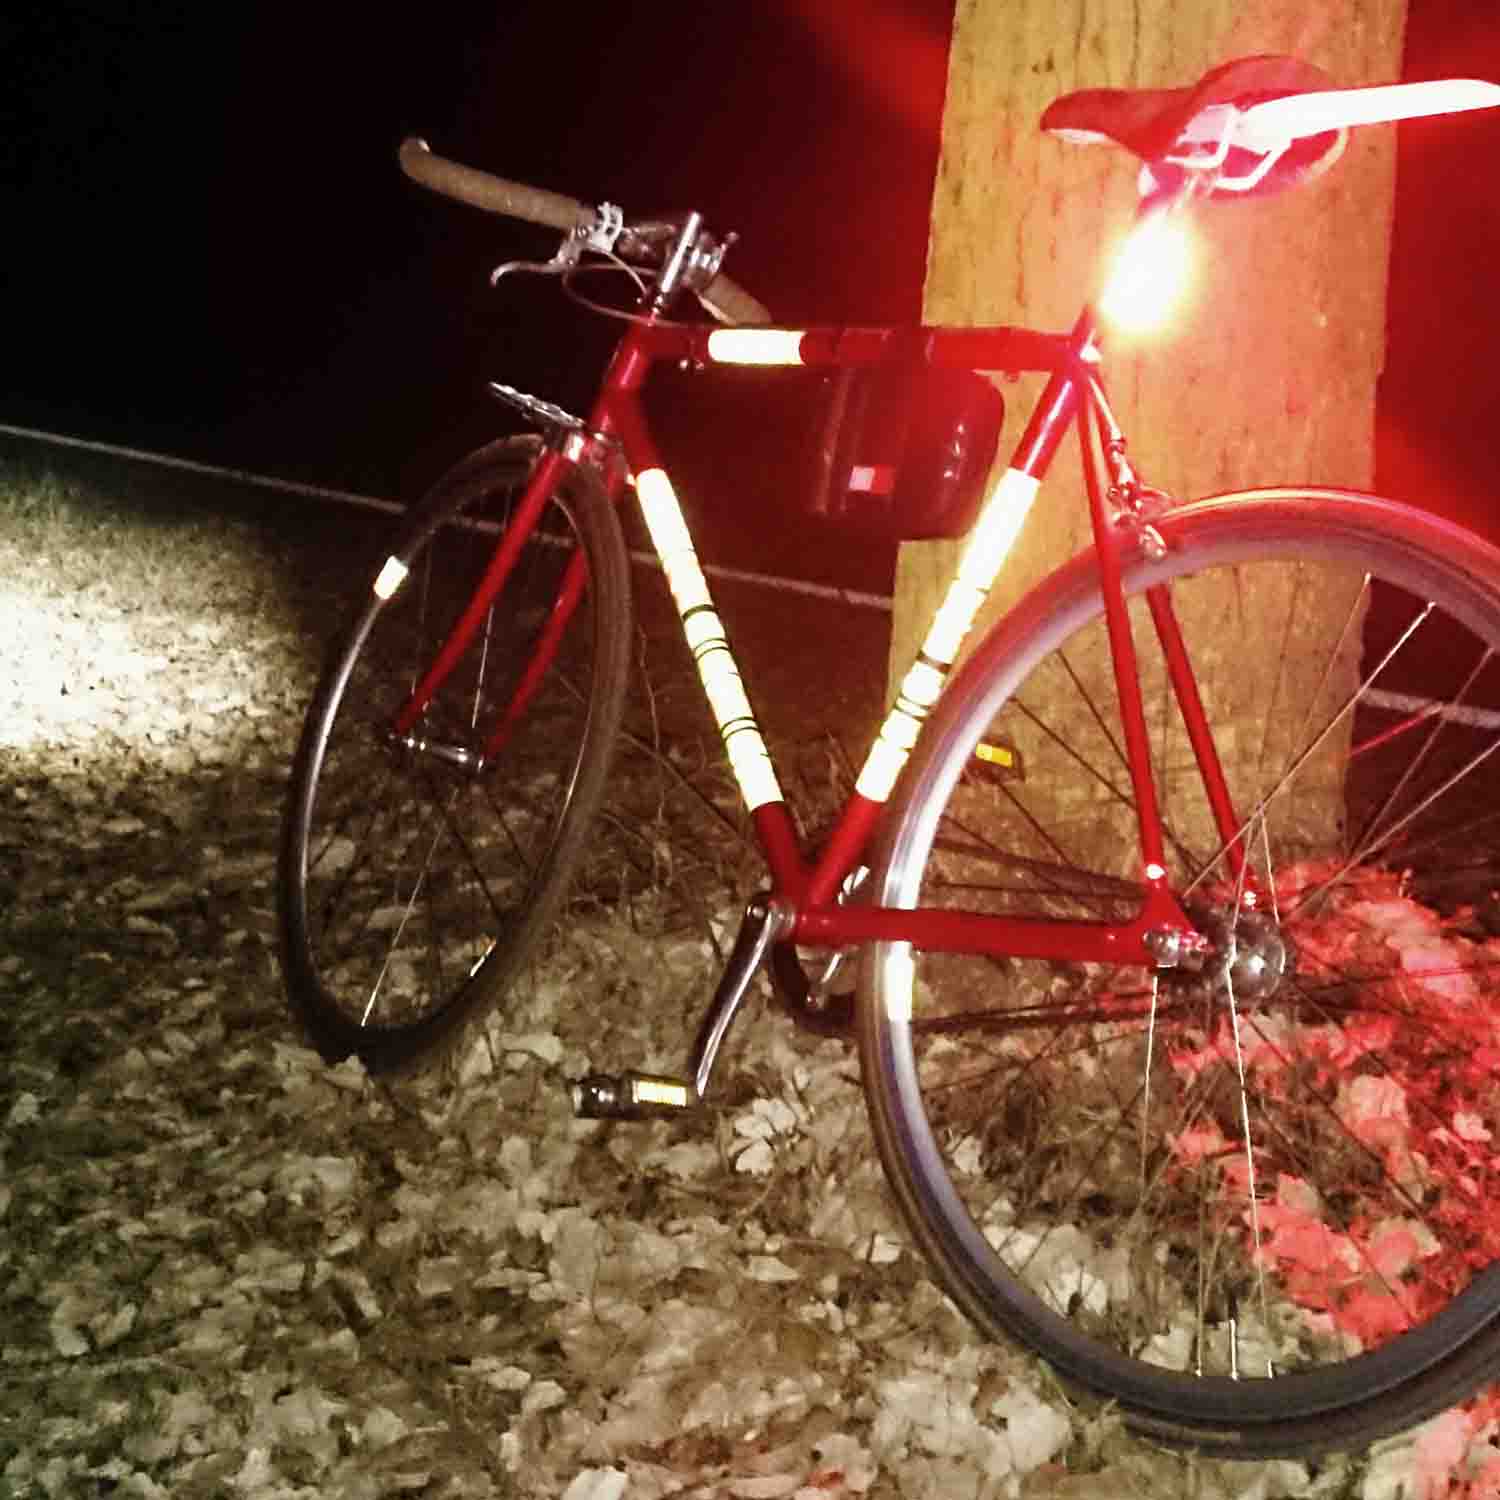
• Stone chip and UV protection
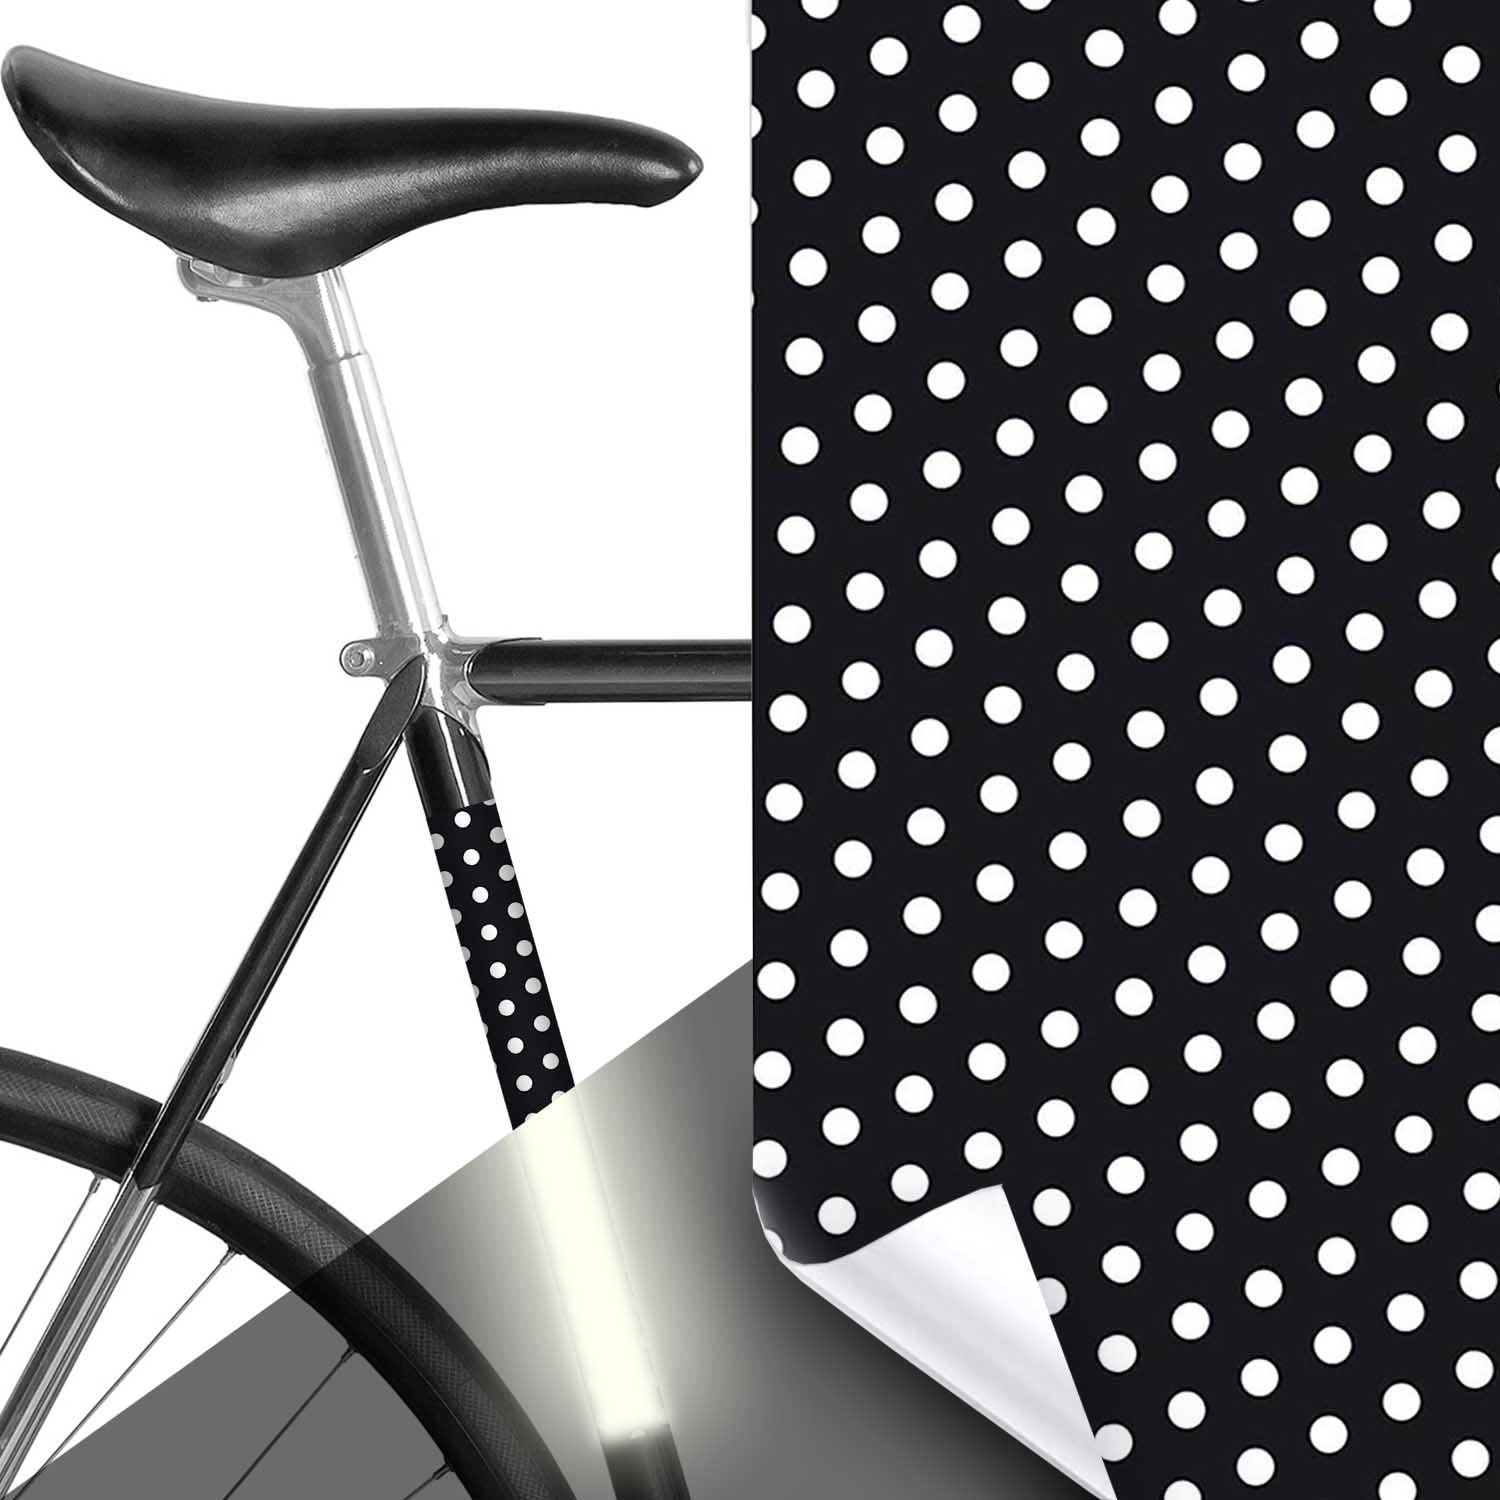
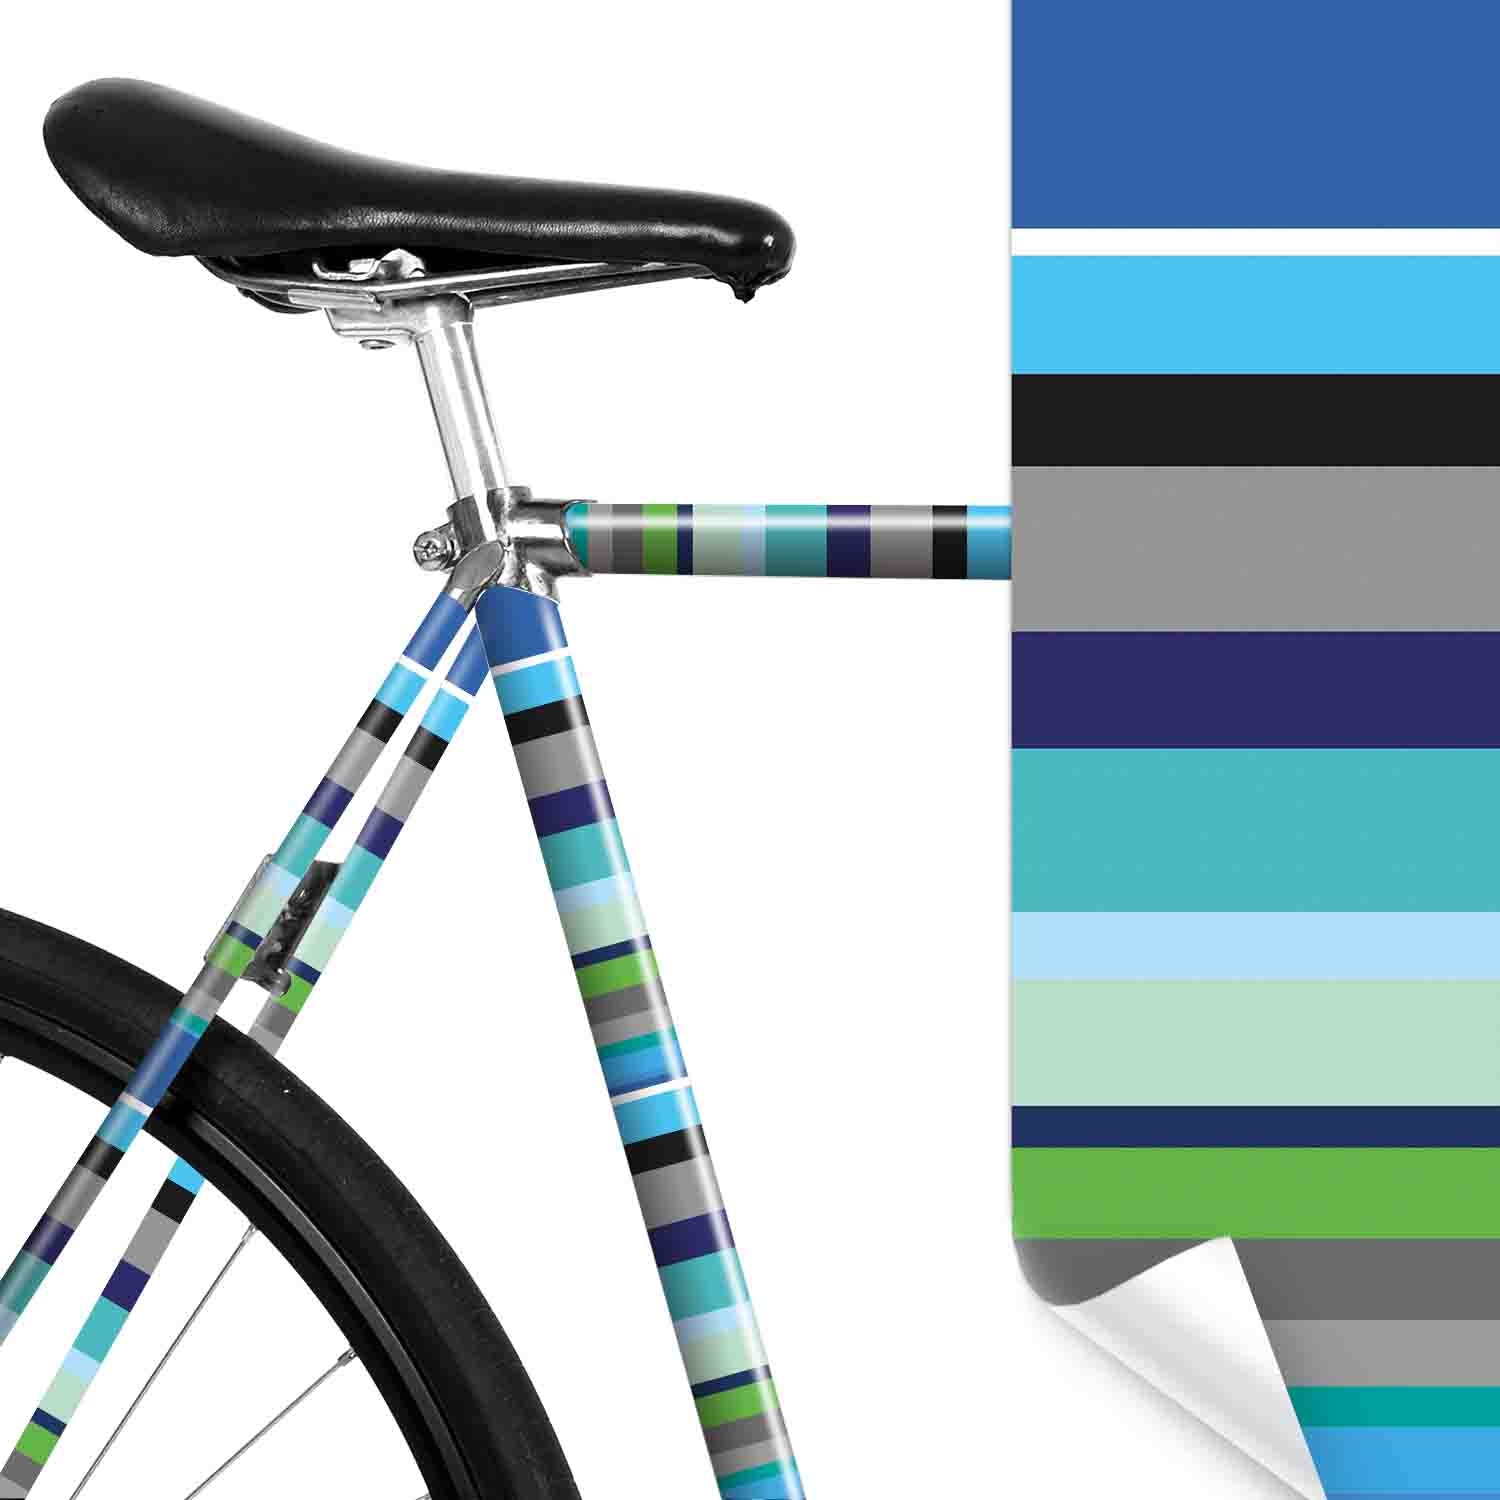
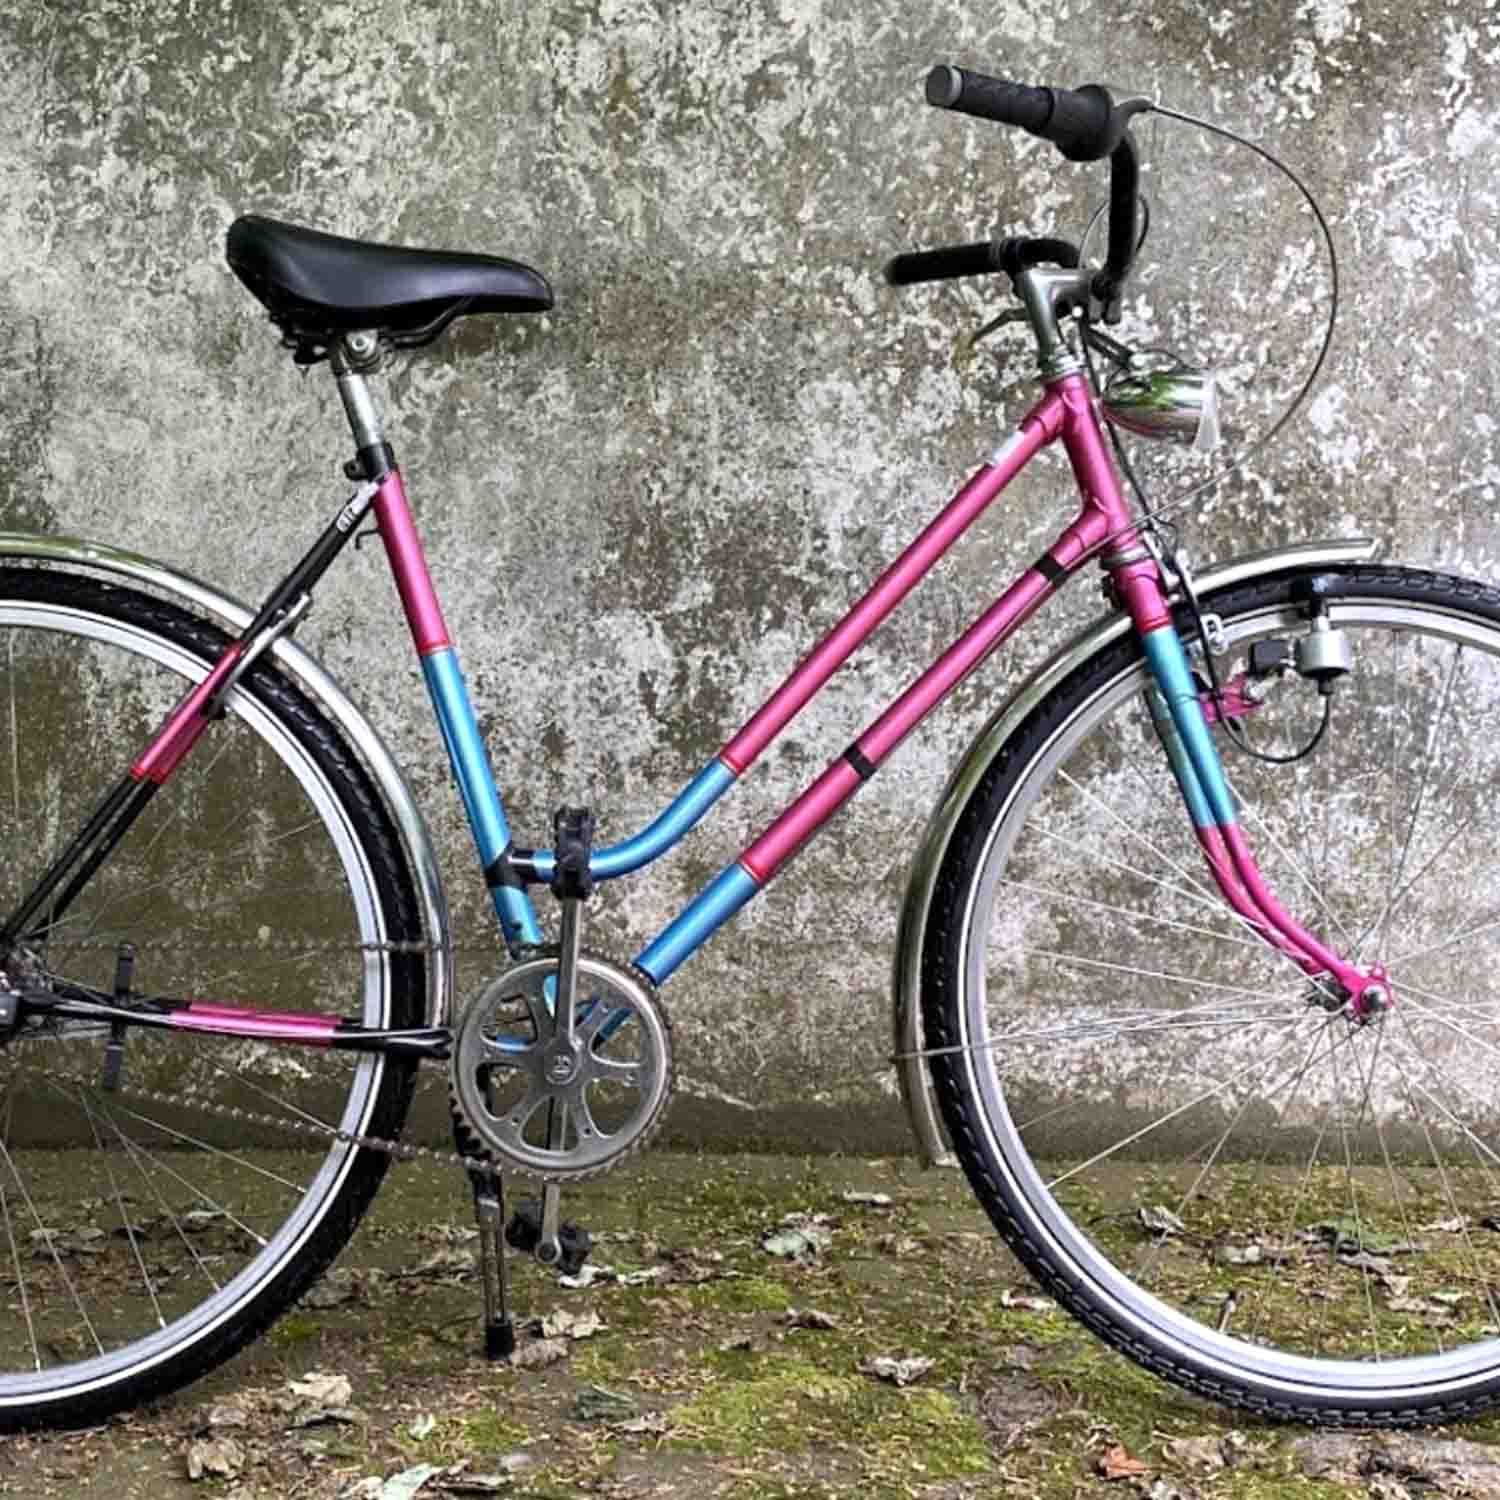
• Theft prevention through individualization
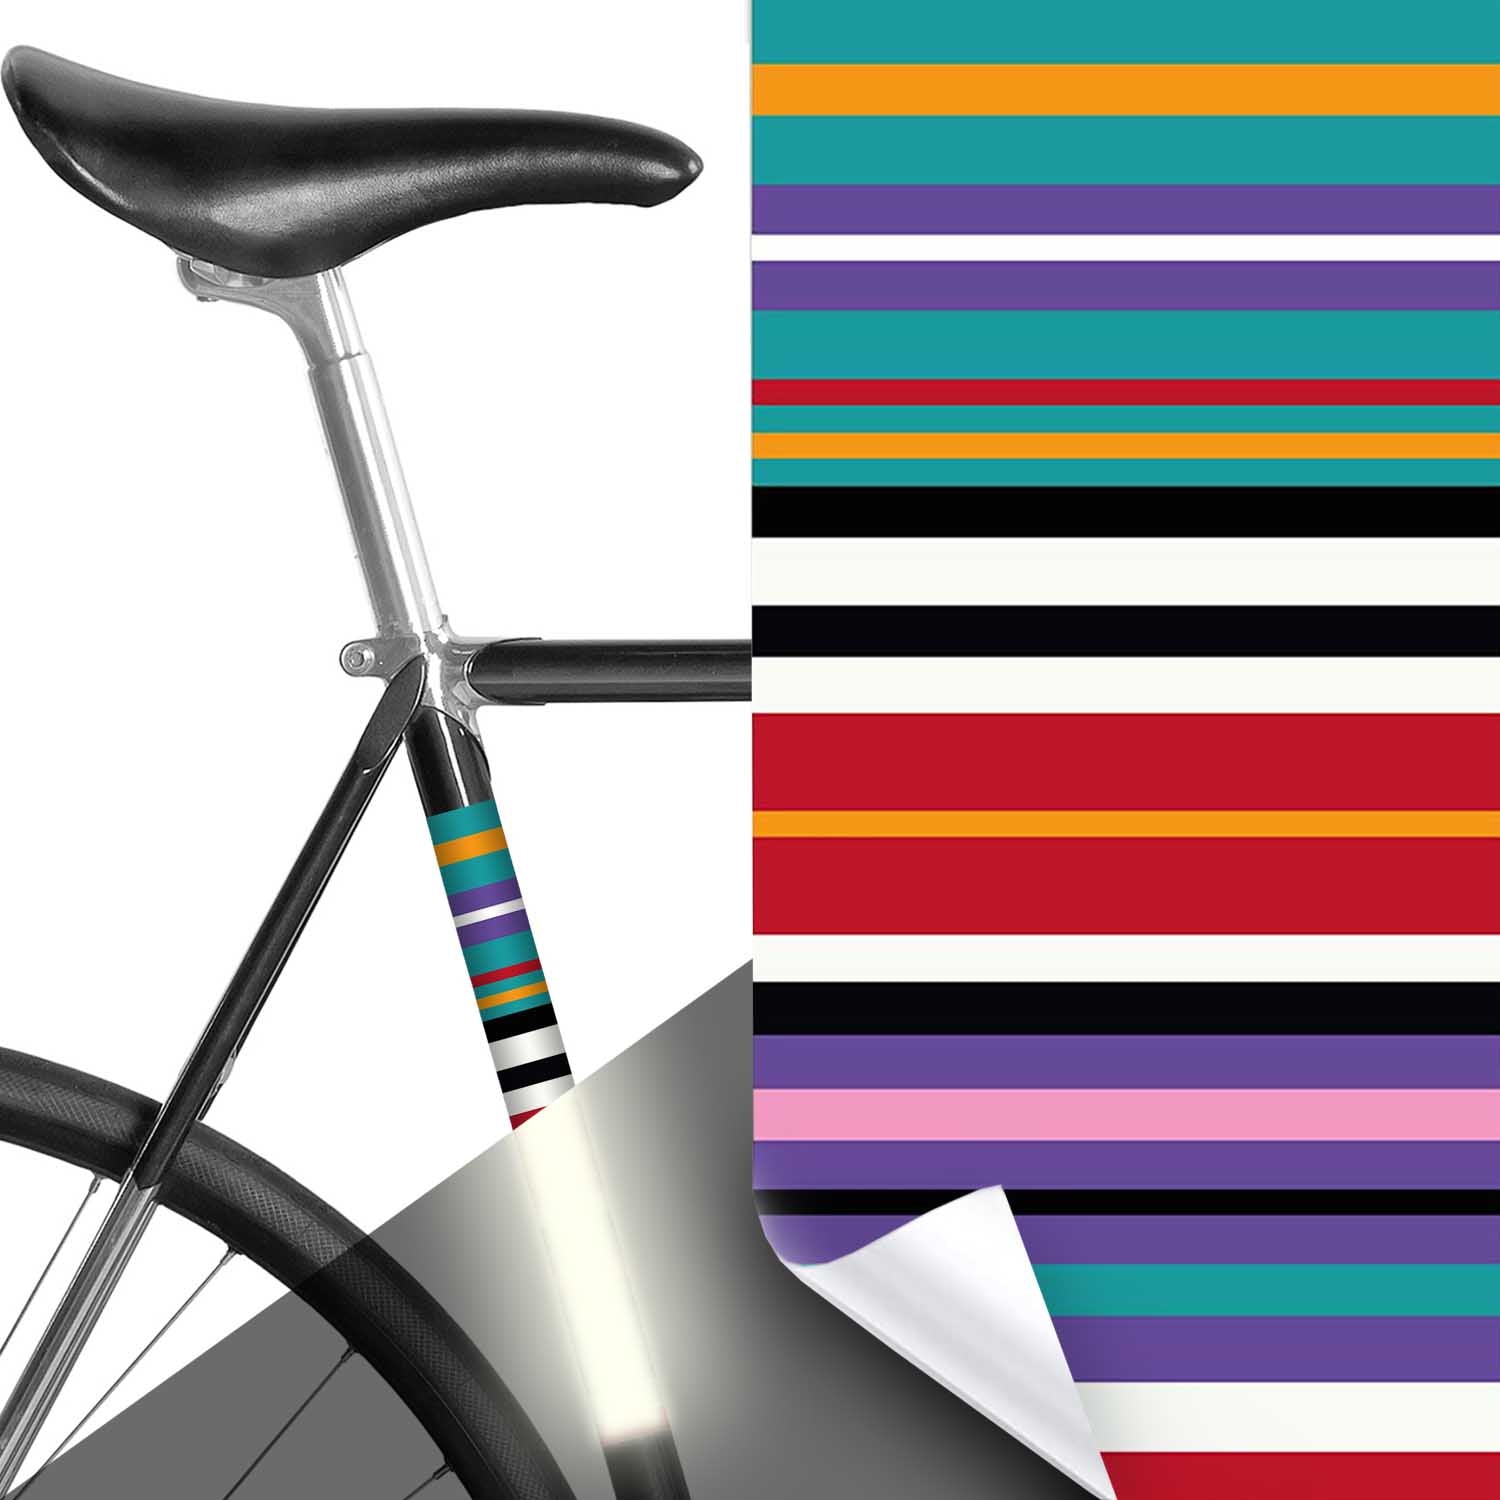
• seasonal jewelry
• Refreshing old bikes
General Terms and Conditions
When applying the film, the room temperature should be at least 15-20 degrees so that the film is not too stiff. It is also important that the application takes place in a bright, dust-free environment.
Cleaning the surface to be foiled
Thoroughly clean the surface to be covered. Make sure that the surface is free of residues such as tar stains, rust, grease or dirt and of course stickers.
The bonding
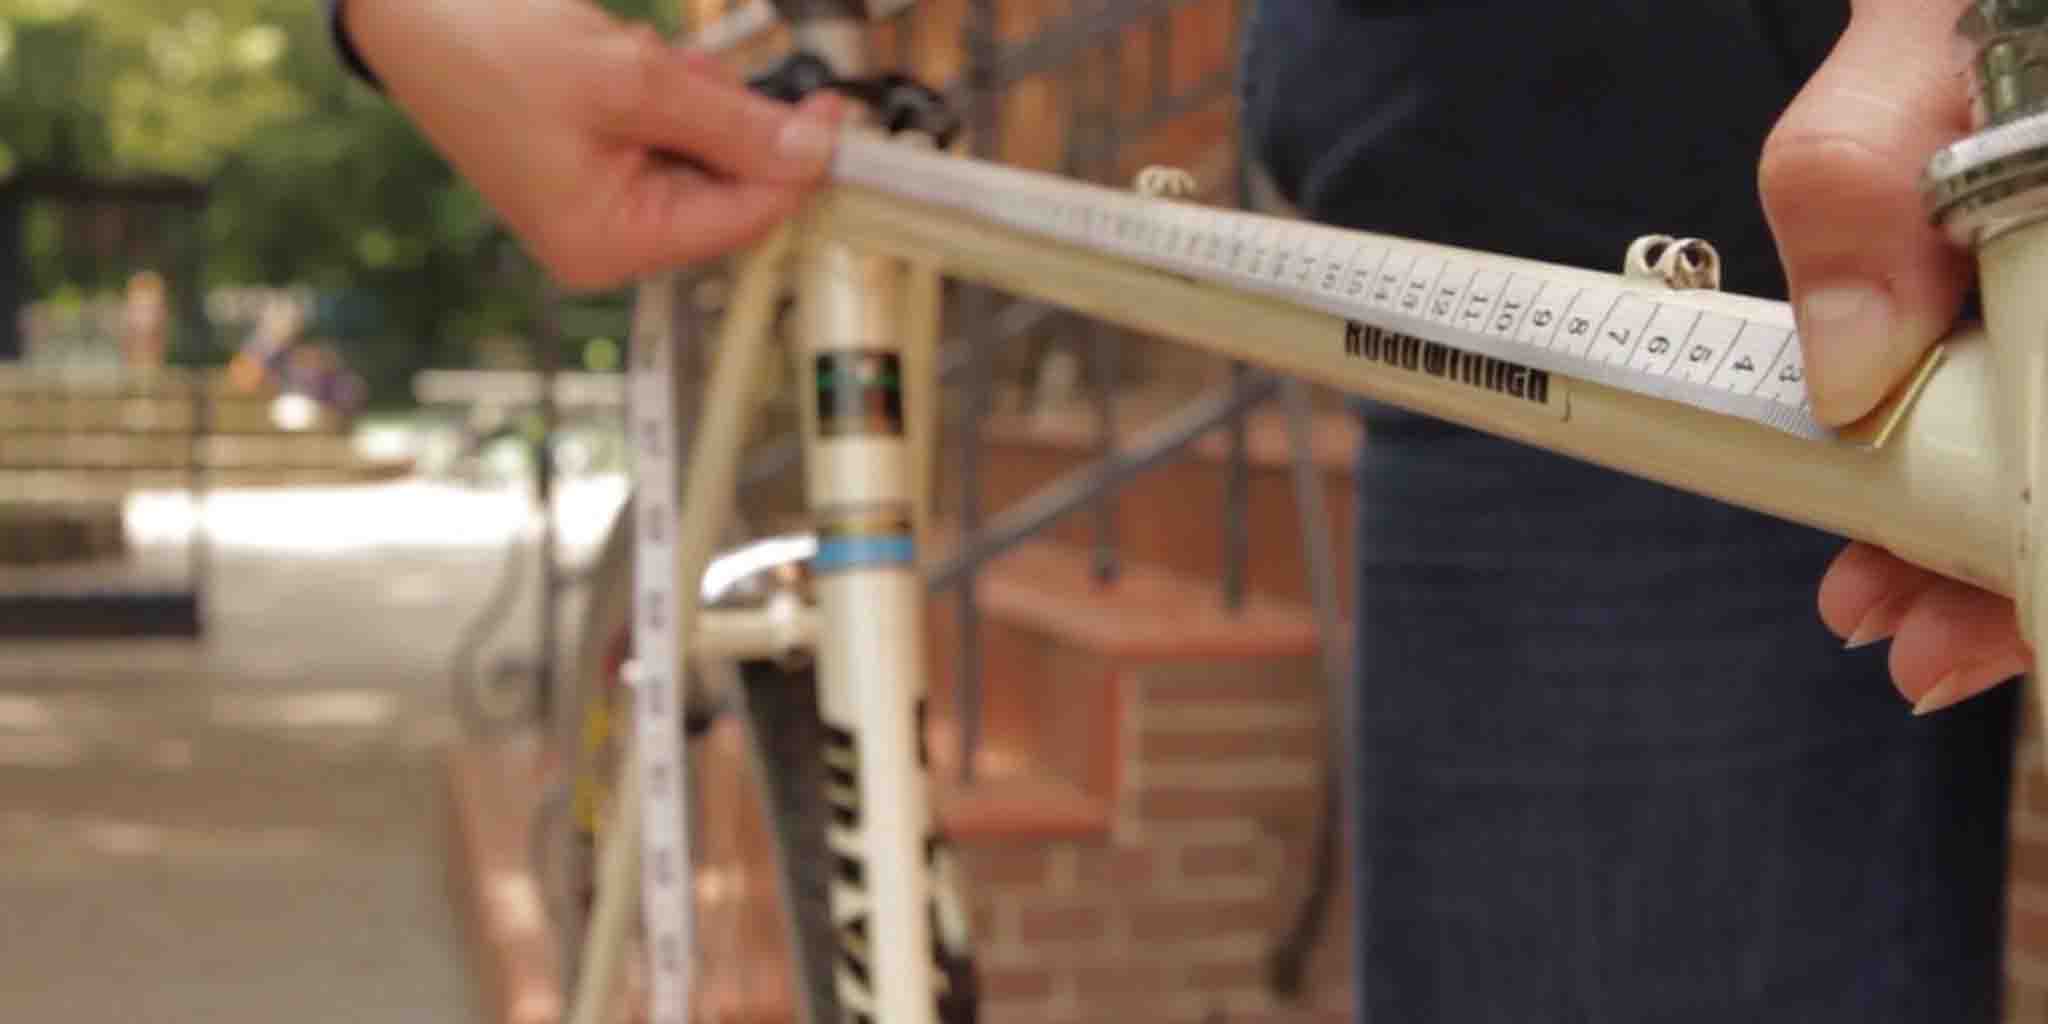
The following tools are required: tape measure (included), squeegee (included), sharp carpet knife or cutter , possibly hair dryer (for difficult areas e.g. bent tubes of a Dutch bike
This is how it works – without experience, but with skill
With a little craftsmanship
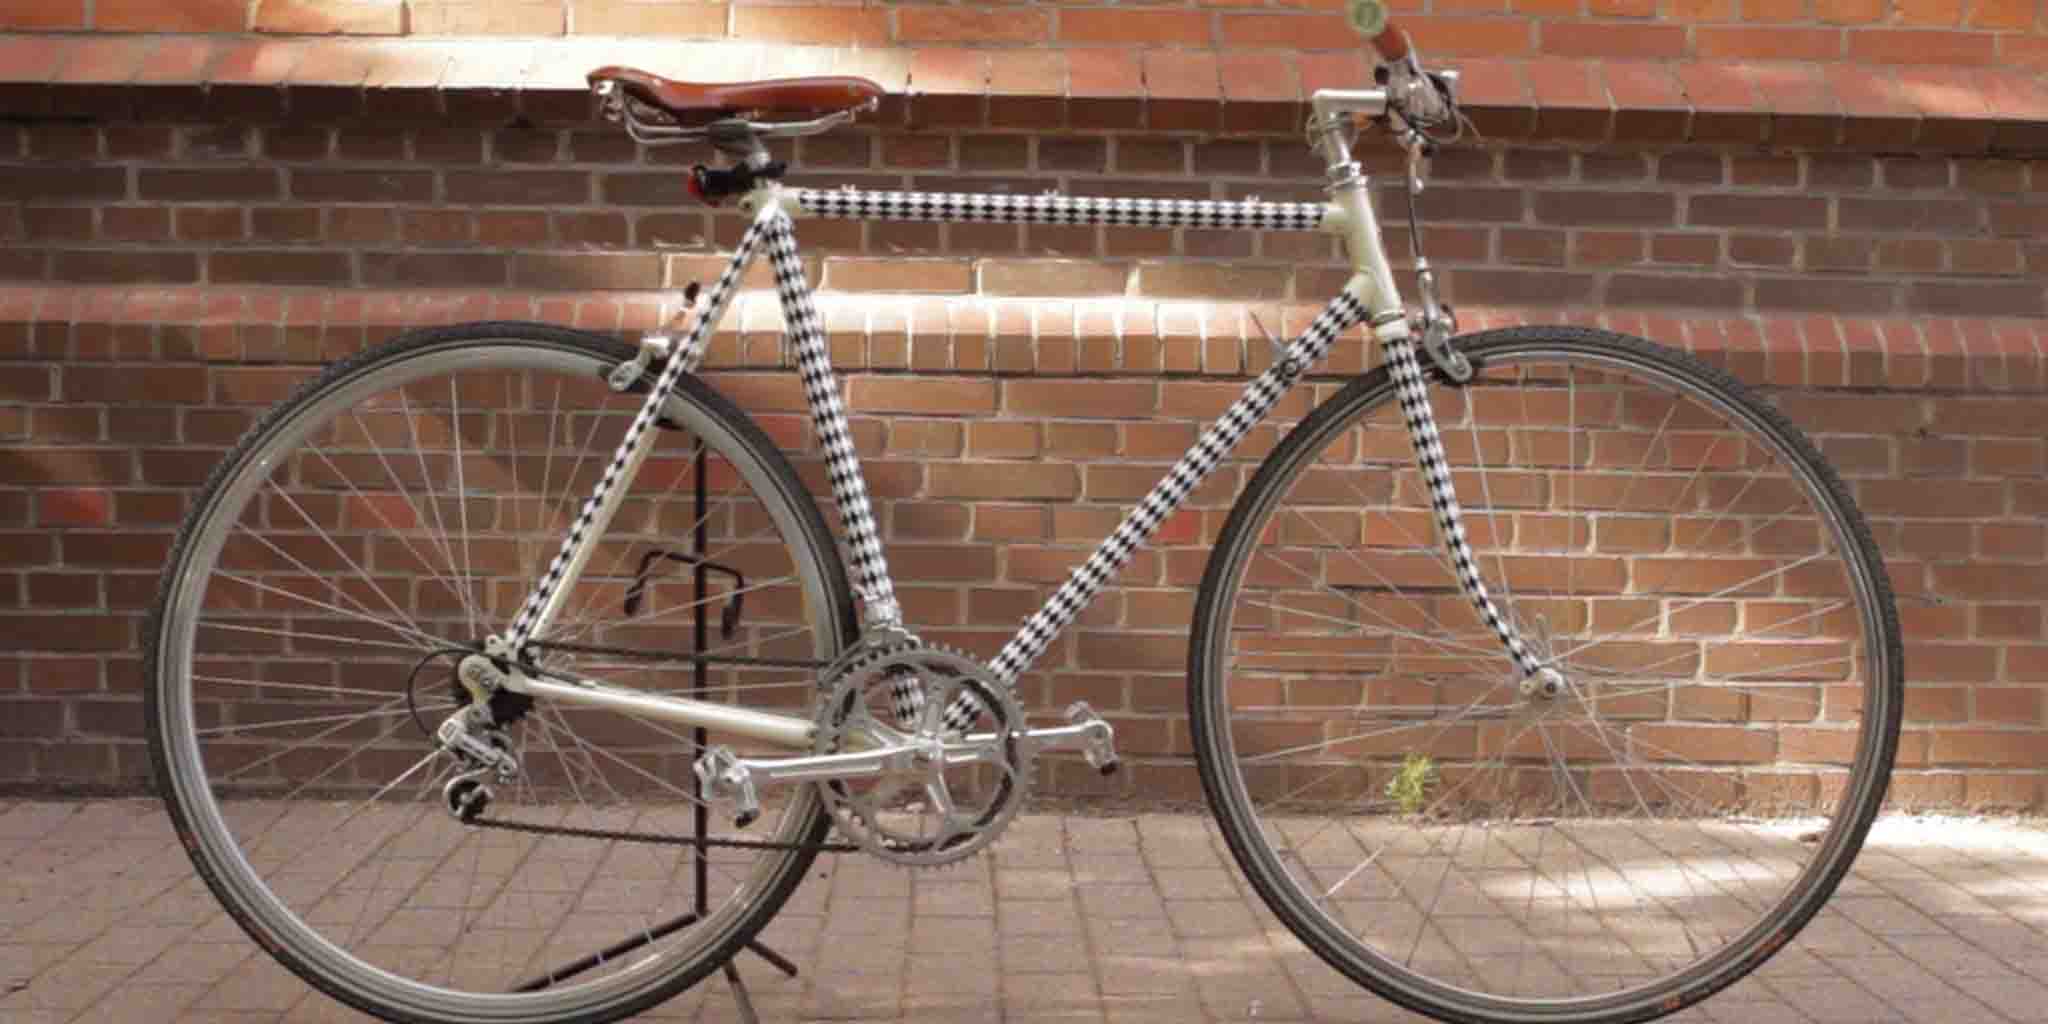
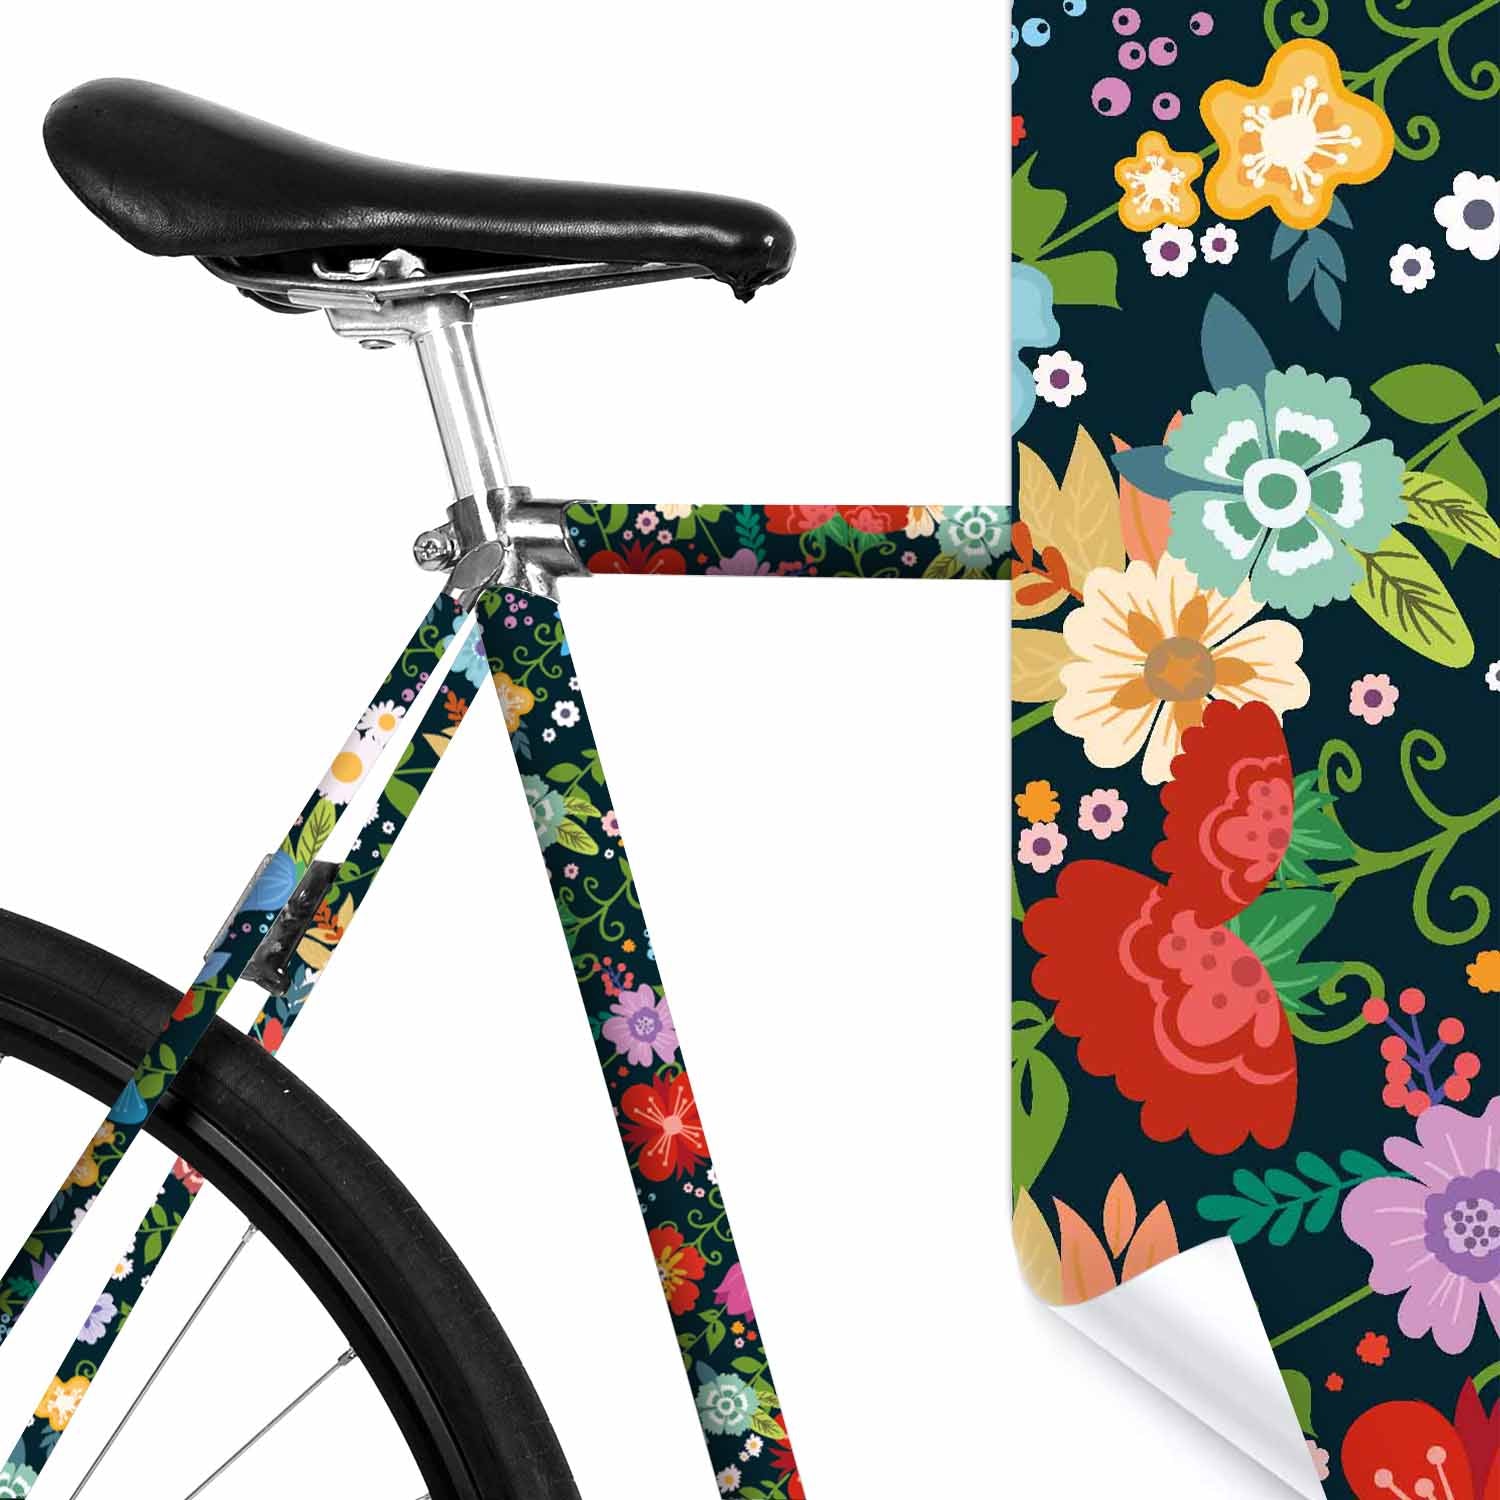
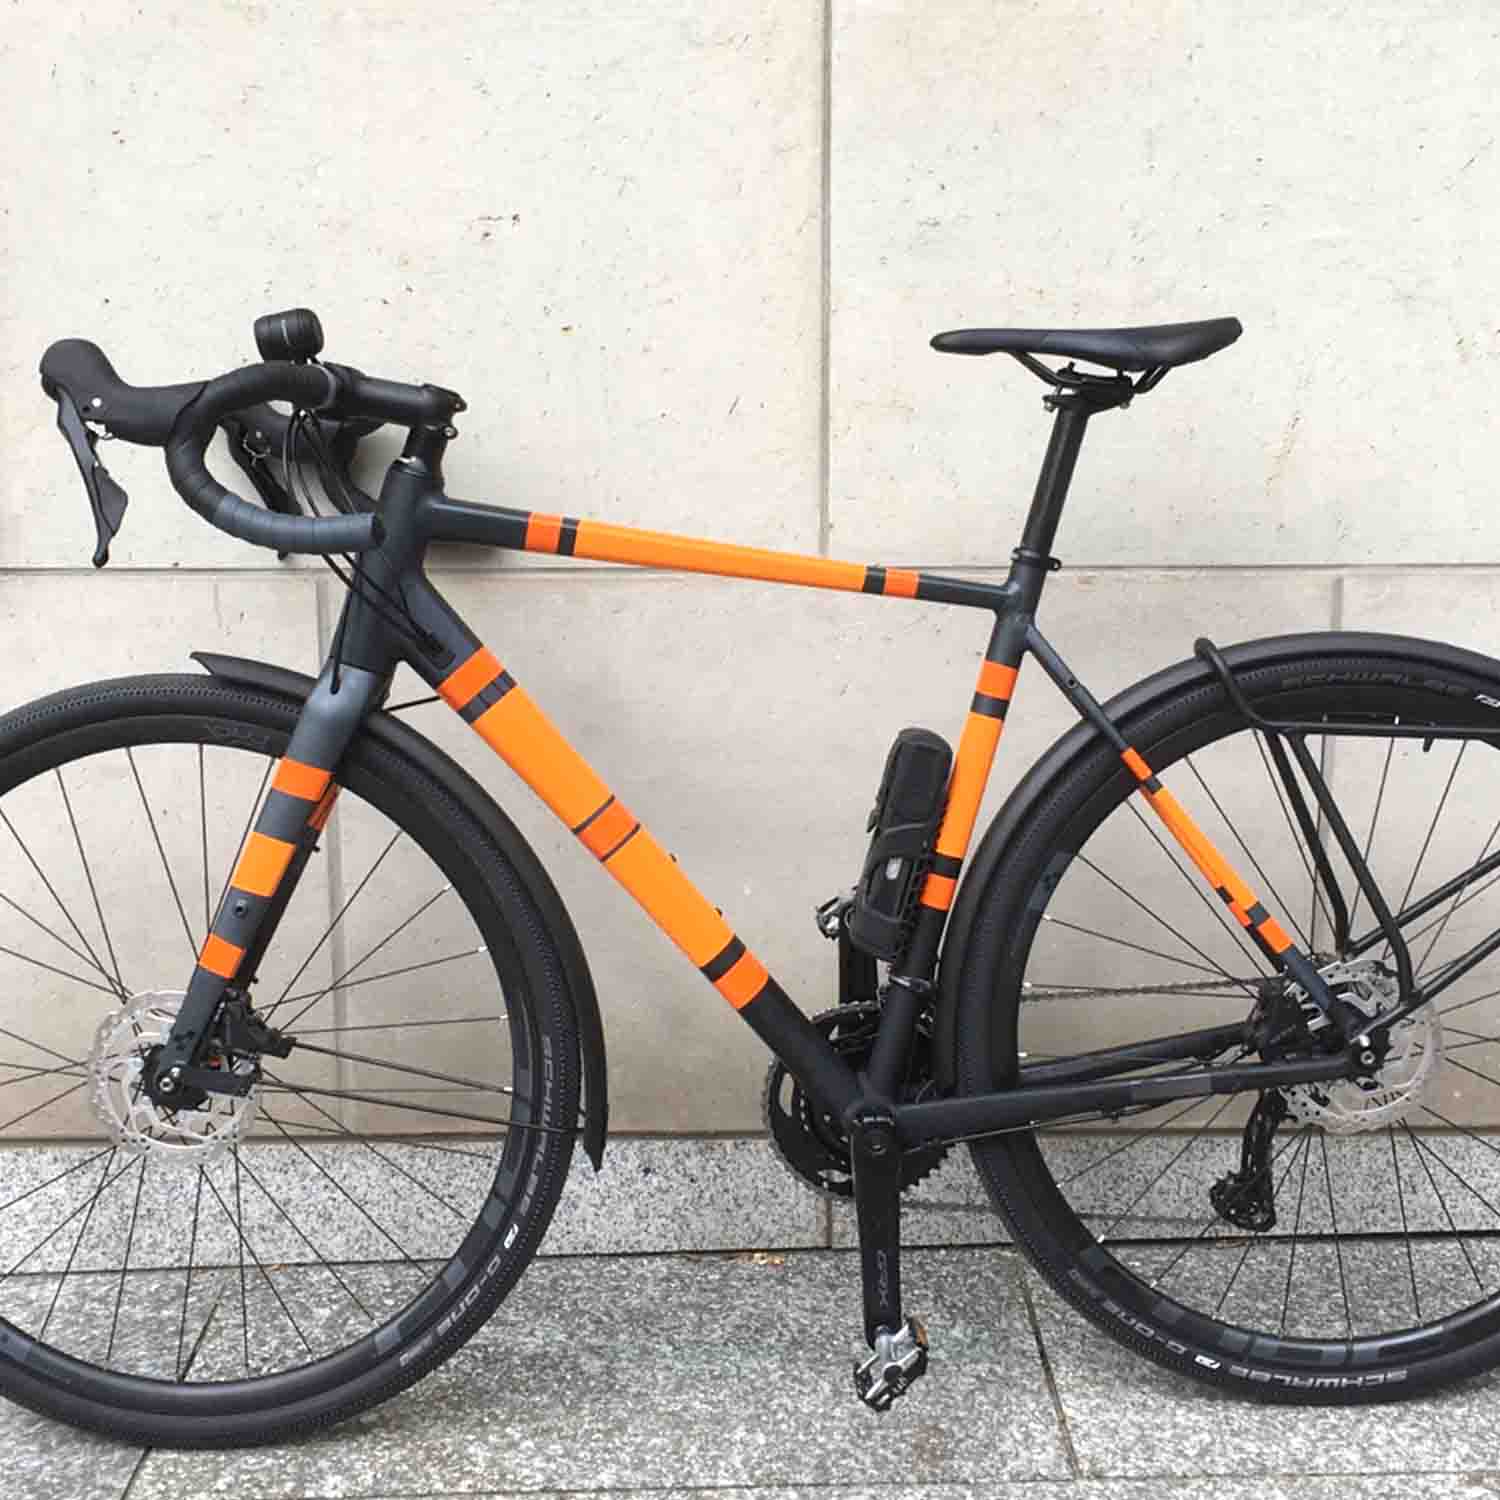
Bicycle wrapping is a popular method of changing the look of a bicycle. It involves applying a film to the frame of the bicycle to give it different colors and designs. You don't need a lot of experience to do this, just a little manual skill and you're good to go...
The foil is applied dry. This means that no fixing water (washing liquid and water) is used - after the foil has been applied, it can be carefully peeled off several times for corrections.
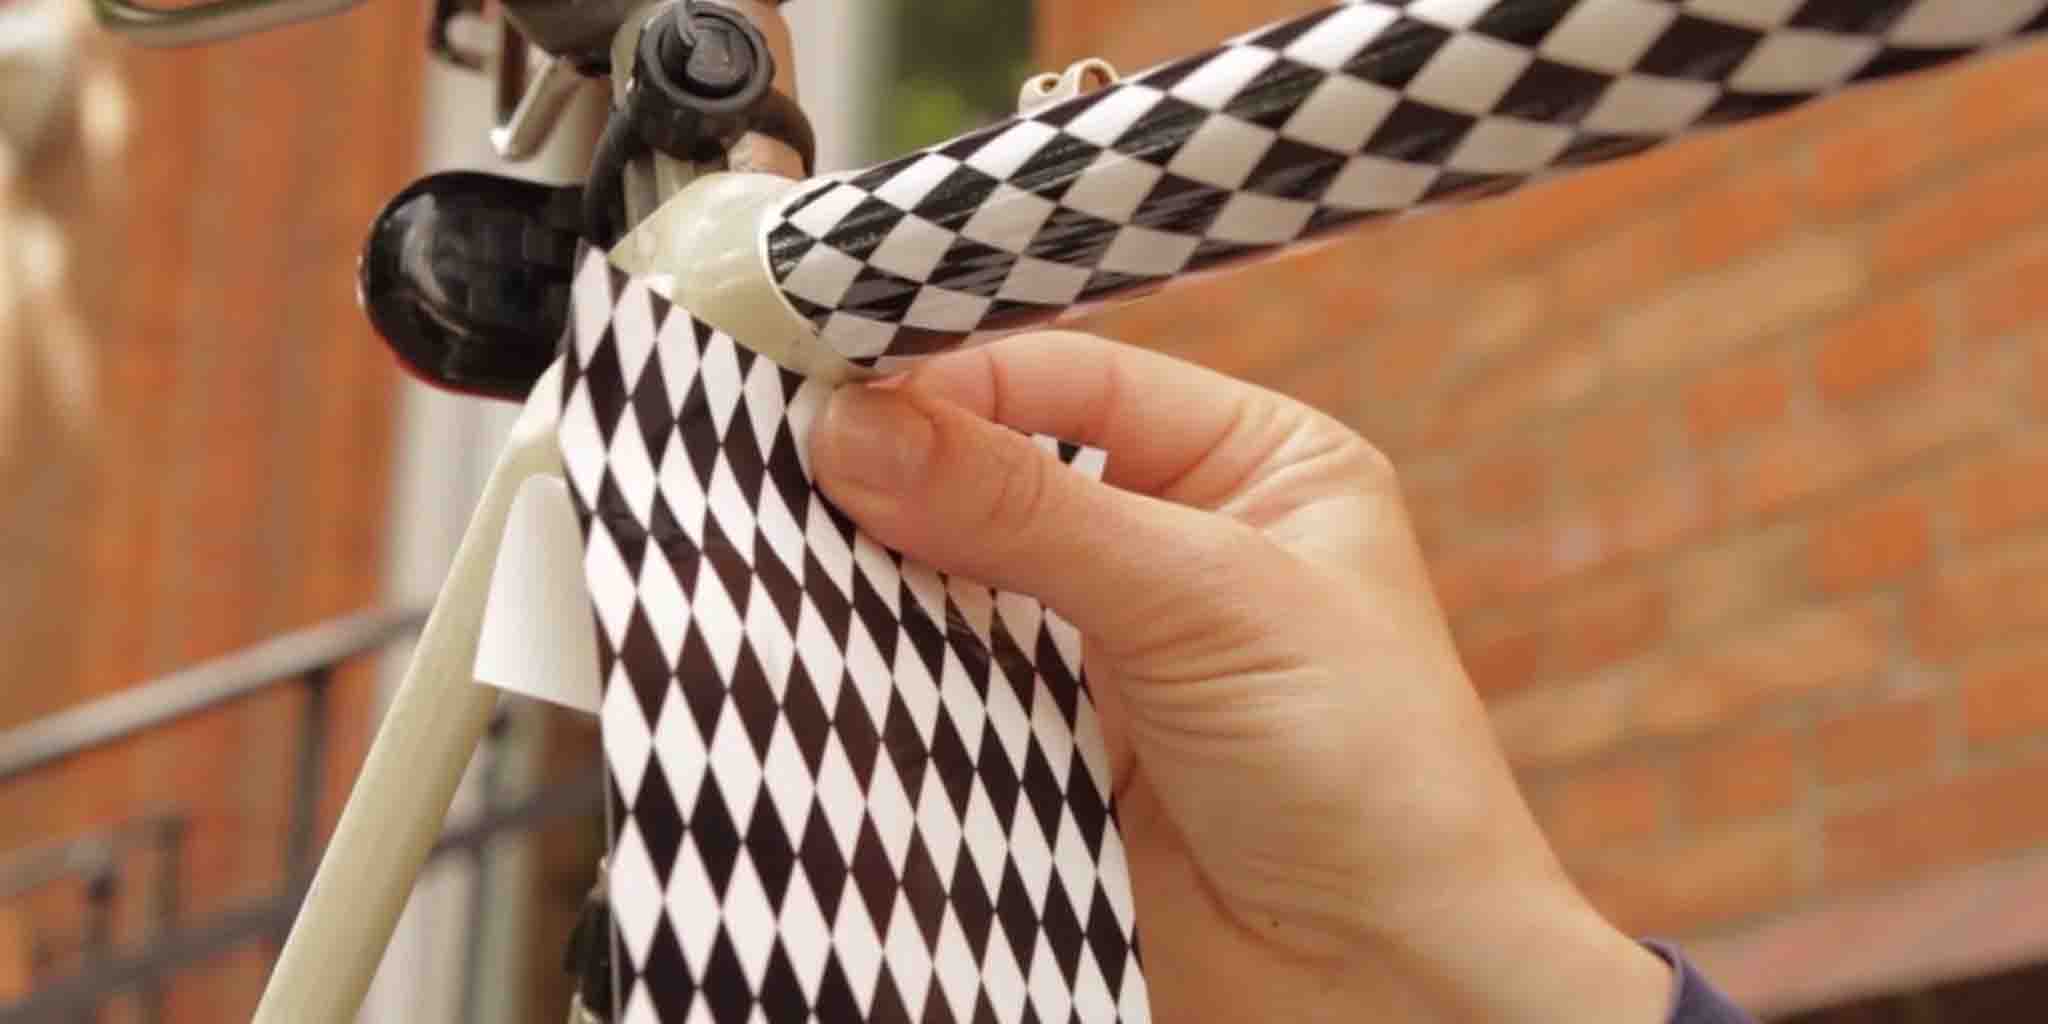
Bonding the film
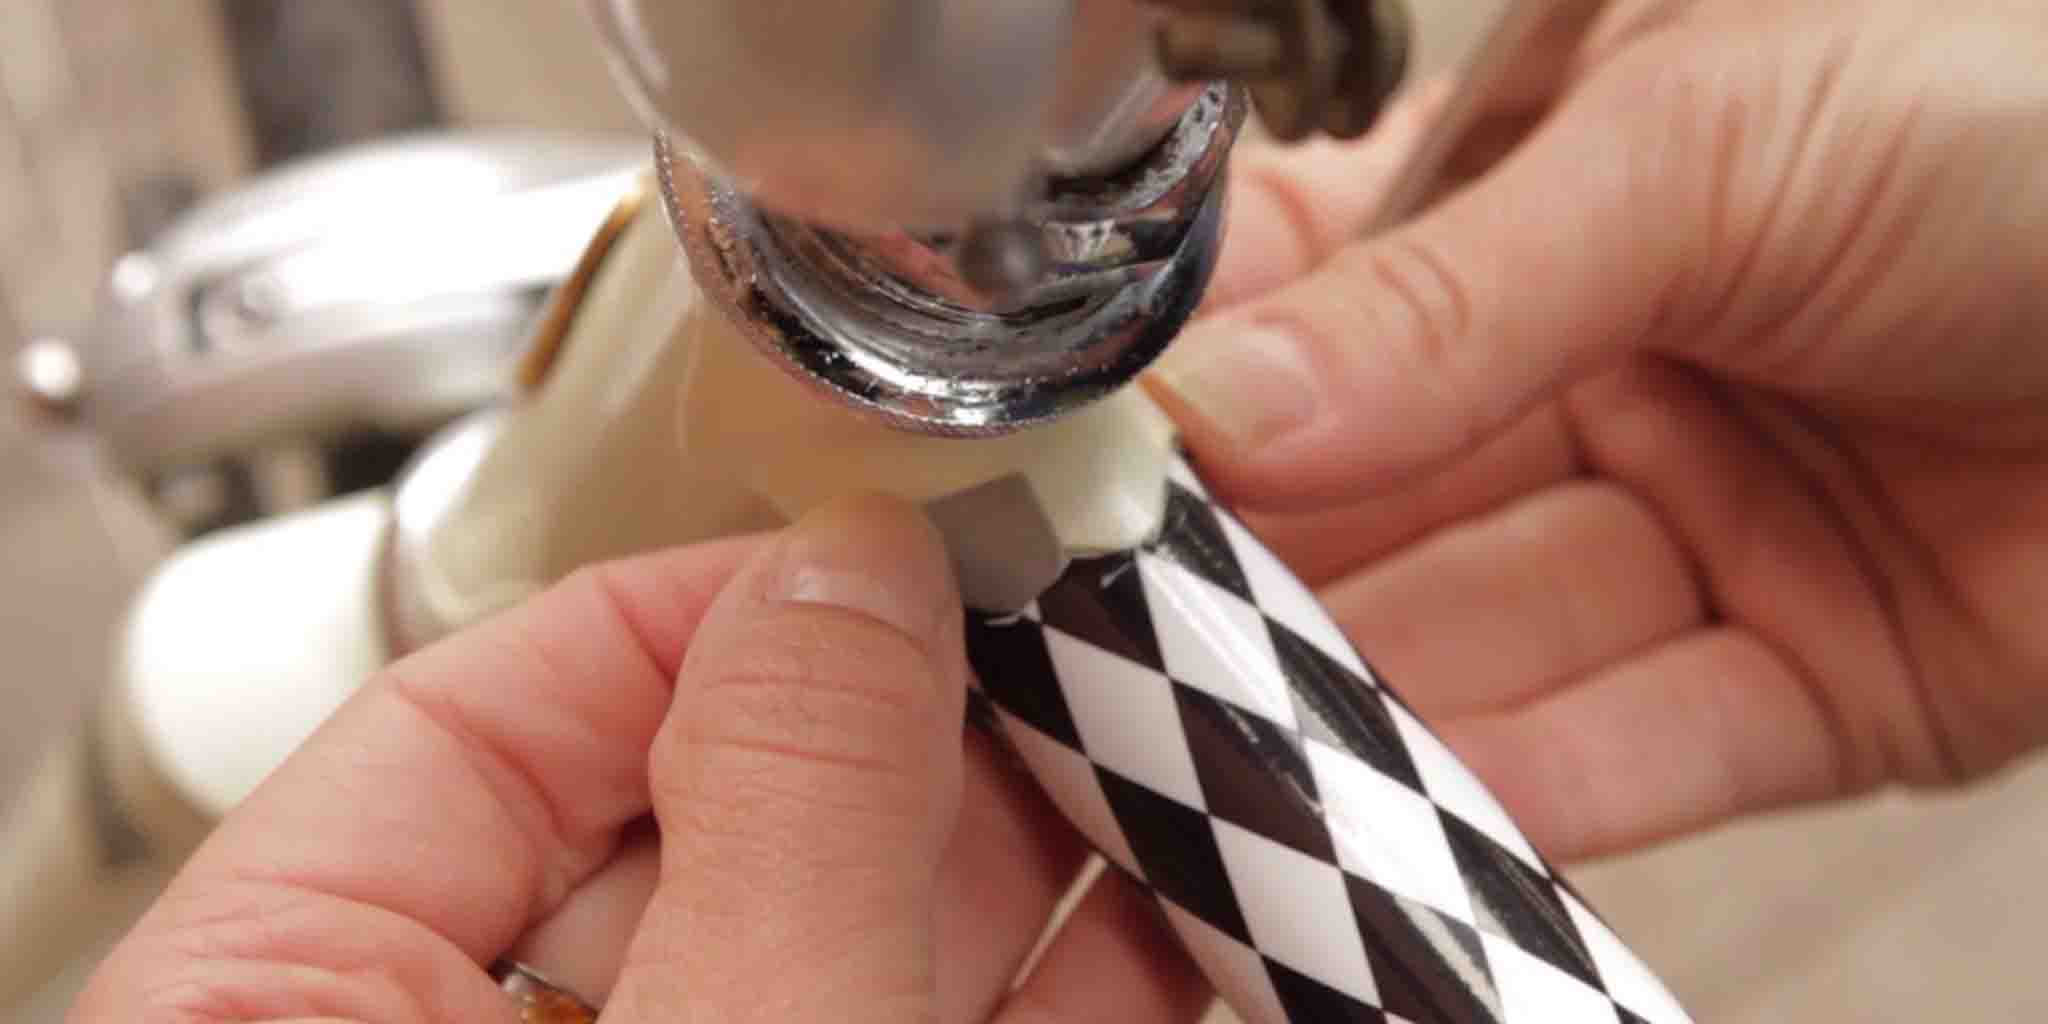
First, measure the area to be glued. Cut the film accordingly. Now remove the carrier film and stretch the film evenly over the area to be glued. Use your fingers or a squeegee to push the bubbles outwards. Heating the applied film with a hairdryer makes it easier to push the bubbles out. The film can be carefully peeled off several times in certain areas if necessary in order to reposition it.
Remove again without problems
However, if the material is to be removed completely, this must be done within about 10 minutes of bonding. Heat the film in the recesses with a hairdryer and, for example, use a squeegee to spread it into the recesses, as the material is now even more flexible. With bent pipes, the tension in the film can be reduced using the heat.
Cut off any excess film on the frame sleeves using a cutter following the shape. Remove any remaining bubbles using heat and a squeegee or smooth them out. The adhesive is completely hardened after 48 hours.
care and cleaning
All of the films are relatively easy to maintain. Please do not use any solvent-based cleaners and always use soft brushes and sponges. A conventional glass cleaner is sufficient. Overly aggressive cleaners can destroy the adhesive on the film.
removing the foil
To return the bike to its original condition or to apply a new film, simply heat the existing film with a hairdryer and peel it off again without leaving any residue.

with the MOOXIBIKE bicycle films
Now my daughter's bike is covered in foil. The result is impressive. I am satisfied and think your foils are a great product.
I'm really excited about the film! It was much easier to work with than I expected. And after 3 hours of work, my son is also excited about his new bike in his favorite colors :-)
There are both advantages and disadvantages:
Advantages
- It is a cost-effective alternative to painting, the original paintwork is retained
- The bike can be returned to its original condition for later sale or dismantling
- Bicycle foiling can give a bike a new look and distinguish it from other bikes
- Ideal for families , as children's bikes can be customized inexpensively
- The film can help protect the bike from scratches and other damage
- Easy removal without damaging the bike
Disadvantages
- For the complete foiling, you need some courage and craftsmanship . Otherwise, it is advisable to skip the areas that seem complicated and only cover parts of them.
- Your hands and the frame must be free of grease. It would be a good idea to degrease the area again with glass cleaner before beginning each step, so the film will stick well to the film.
- Reflective stickers and decals leave adhesive residue , but this can be removed with a standard solvent from a hardware store. For carbon bikes , we recommend applying a bicycle film underneath the reflective film. Then you can remove both without leaving any adhesive residue.
- Wrapping an entire bike requires time and patience, and can't be done on the side. You should plan on about 2-4 hours.